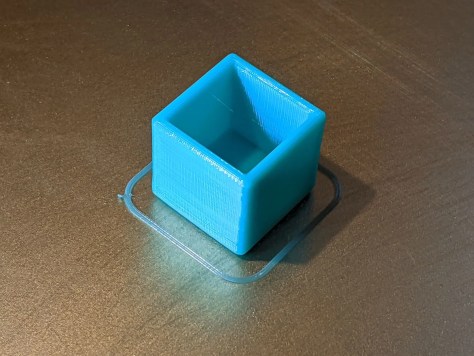
In my last post, already several months ago, I promised another 3D printer post. That is still coming. It’s half written. Make that a quarter written. I’ve been sidetracked, not to mention that my laptop computer bit the dust and I haven’t yet decided what to replace it with.
My first 360° panorama post was a little over a year ago, Feb. 4, 2020, where I discussed how 360° panoramas were made and showed one from Gates Pass near Tucson, AZ. My second post on panoramas was written on March 9, 2020, noting that 360° panoramas could be displayed on YouTube.
So, what’s new with panoramas?
First, 360° can be displayed on Flickr (I knew that, but had never tried it). Here’s my first panorama on Flickr. Flickr isn’t as good at displaying these as it could be – maybe it will improve in the future. The first problem I noticed is at the very bottom of the photo – directly below the camera. There’s some distortion there that shouldn’t be. Also, it is more difficult to zoom in and out with the mouse scroll wheel, as it usually scrolls the page instead. And it was difficult to go into full-screen mode, and once there I wasn’t always able to pan around the image.
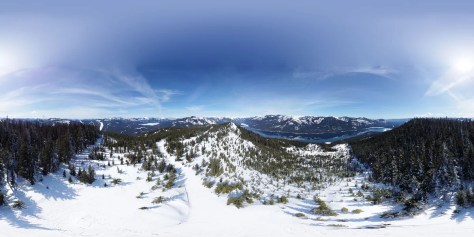
It is possible to display panoramas interactively on WordPress, but only if I pay for a “professional” level. Since I don’t make any money from this site, I can’t really justify doing that. If you wish to see my photo(s) in a better viewer, take a look at it (them) in Roundme. This photo was taken a few days ago while on a cross-country ski outing to the top of Amabilis Mountain. 11+ miles and 2000’+ elevation gain, but the views were totally worth it! What a gorgeous day we had. Here are the rest of the photos I shot that day.
You can see all of the photos I’ve uploaded to Roundme by going to https://roundme.com/@garystebbins/tours.
What else is new?
All of the 360° panoramas I have posted in the past were shot by using my DSLR camera mounted to a tripod (or, in one case, handheld). The latest two were shot from a drone from tens of feet to several hundred feet above the ground.
I got my first done 3+ years ago, but it’s a bit too big to take on a backpack or cross-country ski trip. About a month ago I got a much smaller drone that is something I can take along with me. The drone itself weighs about 1/2 pound. I carried it in my backpack on my cross-country ski trip.

The larger drone in the photo above is a DJI Phantom 4 Pro, and the little guy is a DJI Mini 2. Both drones can automatically shoot a series of photos to be stitched into a 360° panorama photo. I then use the program PTGui to stitch the multiple images into a panorama image.
If you are curious, the panorama image is just a regular JPEG file, although it is stretched “a bit” at the top and bottom. As mentioned in my first post, it is exactly twice as wide as it is high – 360° wide and 180º high. The right and left edges join together in the panorama viewer, and the top and bottom edges are compressed to display as a single point – straight above the camera for the top edge and straight below for the bottom edge. Some additional metadata is added to the file so that the viewer program knows how to interpret the file. Here’s what the photo looks like when viewed without a panorama viewer.
There you have it – one more 360° blog post. Next (I hope) I’ll actually finish writing the 3D printer blog I promised a few months ago. Stay tuned!